Cleaning a path can feel like a big job, especially when dirt and organic growth collect between the bricks. Working in manageable sections helps you clean evenly and keep track of your progress. This guide covers a practical cleaning routine, precautions for protecting yourself and the pavers, and ways to tackle common stains. You’ll also learn when a gentler method is the better choice, helping you freshen the path without creating extra repair work.
Key Takeaways
- Start by clearing loose debris, then use a brush and hose for a gentler clean before considering pressure washing.
- A bleach-free pressure-washer concentrate can help loosen grime before you move to a stronger spray.
- Work in small sections to keep the cleaning solution from drying and make the task easier to manage.
- Protect yourself and the brickwork by using sensible precautions, and choose a stain treatment suited to the mark.
What's the easiest way to clean up brick pavers?
Start by sweeping debris away from the surface. Pressure washing can damage brick paths by removing joint sand or chipping edges, so use it cautiously. If using a patio cleaner, protect plants from cleaning runoff and keep pets away while you work; rinse the area thoroughly before letting them return. In Australia, clean as needed when debris, stains or organic growth build up, rather than following a fixed schedule. Patio Black Spot Remover can safely be used on any type of brick/block paver and will help to clean the paver without needing to use excessive force from the pressure washer. Grean Boss can be sprayed and left to work and over the coming days-weeks will remove any green algae.
-
Wear Eye Protection While Pressure Washing
Put on eye protection before using a pressure washer. The spray can send grit and debris from the bricks towards your face. Keep your footing steady and direct the spray away from people, pets and plants. If you use a cleaning solution, apply it only to the bricks and wash run off away over the lawn.
-
Address Oil, Rust, and Other Stains
Identify the mark before choosing a treatment: oil, rust and mortar residue need different approaches. For oil, blot or lift the surface residue before scrubbing with a cleaner labelled for brick. Keep the treatment on the stained area and rinse thoroughly. Mortar stains may call for an acid wash, but the brick colour affects the mixture, so don’t use one general dilution for every path.
-
Pressure Wash Brick Paths Carefully
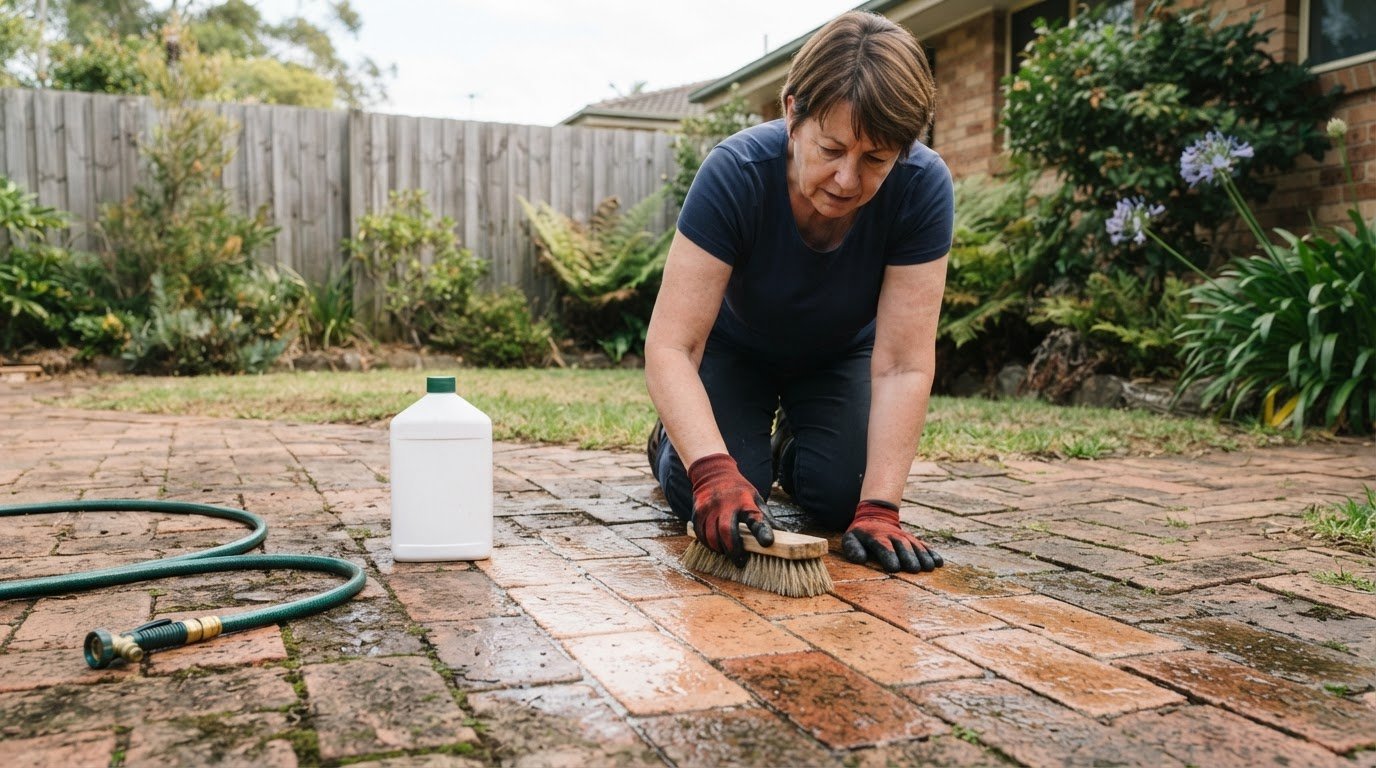
Begin with Patio Black Spot Remover to remove grime, following its label directions. For high-pressure cleaning, use a 15° wide fan nozzle and keep pressure at or below 7000 kPa. Work in runs about 1 m wide, allowing the surface to dry behind you incase you need to retreat stubborn areas.
-
Replace Joint Sand After Washing
After rinsing, inspect the joints because pressure washing can remove sand. Once the bricks are clean, sweep concrete sand or river sand into the gaps with a push broom. Their angular grains can lock into the joints. Brush excess sand off the brick faces, then check for gaps and sweep more into any joints that still look bare.
Breaking the job into sections
Divide the path into zones before applying cleaner. A practical way to clean brick paths is to follow natural boundaries, such as garden edges or bends. This makes the job easier to organise and helps you finish each area while the cleaning solution is still wet.
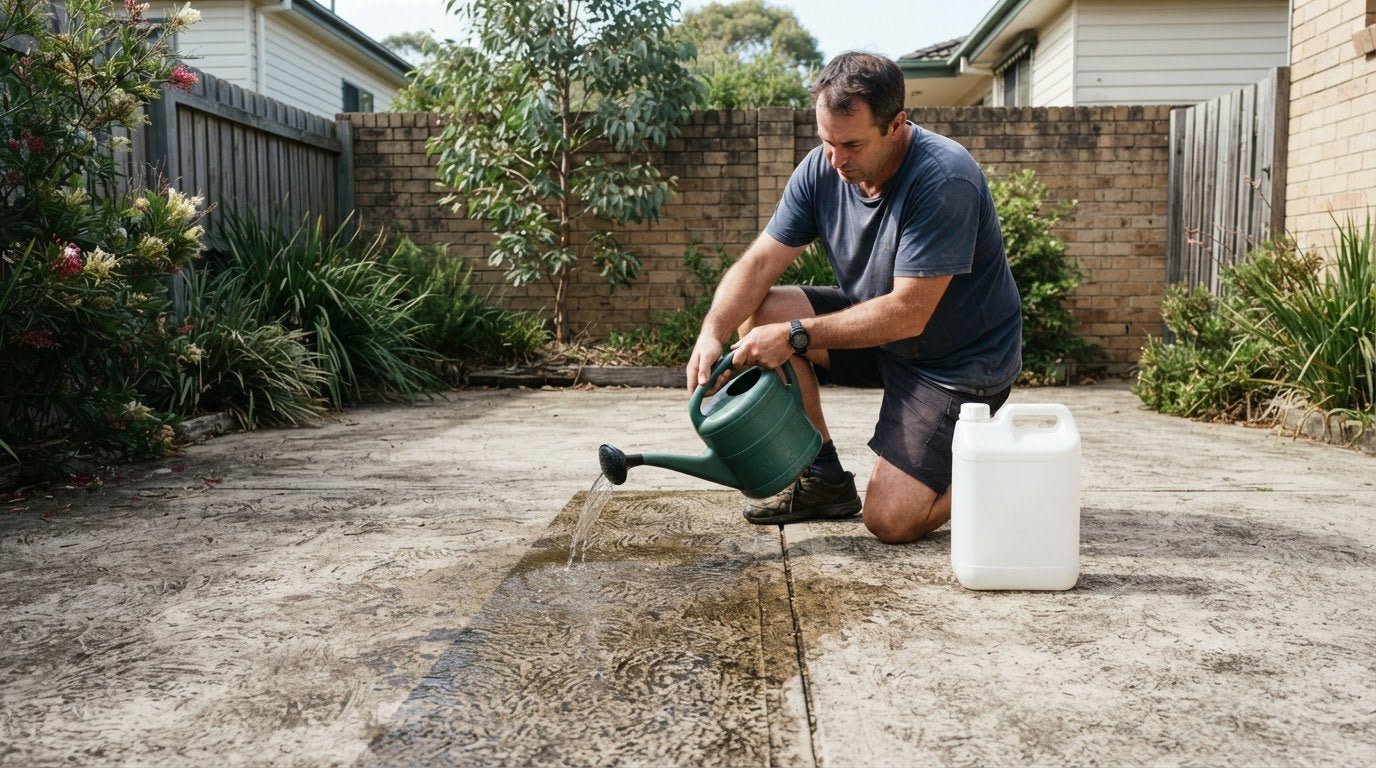
- Mark manageable zones using path edges, garden borders or changes in direction. For a long walkway, divide it into three sections and tackle one at a time. Leave the next zone untreated until you’re ready to work on it, so the cleaner does not dry on the bricks while you focus elsewhere.
- Prepare each zone before applying cleaner. Sweep or blow away leaves and loose soil, then pull out weeds growing between the pavers. Clear away loose plant material before scrubbing. This prevents debris from being dragged across clean bricks and gives you a clear view of the area.
- Apply the Patio Black Spot Remover to an area of around 20-30 square metres. Work from one edge to the other, following the shape of the path. It is not recommended to use hydrochloric acid, it is damaging to the environment and in all likelihood will not help you achieve the desired result. Small work areas make applications easier.
- Follow a consistent pattern within each zone. An S-shaped route, worked row by row, helps you cover the bricks without missing narrow strips. Finish one row before moving to the next, and watch the boundary between them. This makes missed patches easier to spot while the surface is wet.
- Choose a stopping point that fits the time you have. Planning how to clean brick paths in stages helps you restart at a clear boundary and maintain a consistent approach.
Brick cleaning safety precautions
Bleach and acidic cleaners aren’t interchangeable, and neither should be treated as automatically safe for every brick path. Use a cleaner labelled for the surface and follow its directions; for brick cleaning, hydrochloric acid solution must be no stronger than 1 part acid to 10 parts water.
- Read the product directions before mixing. Check the label for the intended surface, dilution and application method. Don’t improvise a stronger mixture to tackle stubborn marks. Apply carefully, avoiding garden plants.
- Protect your eyes and keep a steady stance. Wear eye protection whenever you pressure wash, as the spray can throw grit and debris from the bricks. Keep a comfortable posture and avoid repeated twisting as you move along the path. Position yourself securely before starting, and stop if the spray makes your footing unstable.
- Keep the water jet away from the brickwork. Never hold a high-pressure nozzle closer than 300 mm from a brick wall. Strong spray can dislodge mortar or damage the surface, so begin cautiously and watch how the bricks respond. Don’t pressure wash fresh mortar: it must be older than 14 days before water-jet cleaning.
- Choose the method to suit recent masonry work. After masonry work, wait roughly 2 weeks before cleaning. For dry brickwork with efflorescence, use a stiff, dry-bristle brush rather than adding water straight away. Brush gently and collect the powder as it lifts, so it doesn’t spread across the path. If a dry brush doesn’t remove it, reassess before applying a chemical treatment.
Maintain good posture throughout pressure-washing, as the author recommends, to help avoid back pain. Keep posture in mind while working along the path, and continue to maintain it during each part of the pressure-washing task. This recommendation is specifically about maintaining good posture while pressure-washing to help avoid back pain. Applying it consistently means keeping the same posture precaution in view throughout the cleaning work.
How to remove oil, rust and other stains from brick paths
- Identify the stain before choosing a cleaner. Oil, rust, mortar residue and organic growth need different approaches. Note the stain’s colour, location and whether it is fresh or established. Remove loose dirt first so it does not mix into the treatment. Don’t assume a product for algae will remove oil or rust from brick.
- Blot fresh oil before scrubbing. Use an absorbent material to lift surface oil, working from the outside towards the centre to limit spreading across nearby bricks. Then use a cleaner labelled for brick and follow its directions. Rinse the treated area thoroughly and inspect it before repeating, rather than immediately applying a stronger mixture.
- Keep rust and mortar stains separate. Rust is not the same as mortar residue, so don’t automatically use an acid wash on both. For mortar stains, the stated hydrochloric acid mixture is 1 part acid to 20 parts water for light-coloured bricks, or 1 part acid to 10 parts water for dark-coloured bricks. Apply carefully to the stain.
- Time mortar treatment closely. Leave the acid solution on brickwork for 3-6 minutes before scrubbing, then rinse the area thoroughly. Avoid letting it dry on the surface, and treat a small, controlled area at a time. The brick colour determines which mortar-stain dilution applies; don’t swap the light-brick mixture for the dark-brick one.
- Treat organic growth as a different problem. For returning growth on dry pavers, use Patio Black Spot Remover. This is an organic-growth treatment, not a rust remover. Keep the treatment focused on affected pavers and wash away over lawns and into beds.
For organic growth, the guide recommends leaving the solution used to remove it on pavers for a minimum of 2 hours.
Avoid high-pressure nozzles and pressure washers because they can remove joint sand and chip paver edges.
Patio Black Spot Removal Australia: Patio Black Spot Remover
Patio Black Spot Removal Australia offers Patio Black Spot Remover for stubborn black lichen spots and green algae on natural stone, brick and precast surfaces. If your path includes any natural stone or concrete paving with these marks, it will help to clean away stubborn dirt and other organic staining.
Patio Black Spot Preventer and Patio Cleaners are also available for outdoor cleaning needs. Match the product to the surface and the problem you’re treating, and follow its directions. Visit patioblackspotremoval.com.au to explore the available products.
Make your next path clean easier
Use what you’ve learned about how to clean brick paths to build a routine that suits your outdoor space. Notice where leaves gather, where dampness lingers and which areas show marks first. These patterns can help you focus future upkeep rather than treating every brick the same way. A quick look after cleaning also gives you a useful reference for spotting changes over time.
If a stubborn outdoor stain needs a different approach, choose a product designed for the surface and the type of mark. Matching the treatment to the material helps you make a considered next move, rather than applying a stronger cleaner without a clear reason.
For help with your patio-cleaning needs, contact Patio Black Spot Removal Australia. Take the next step at a pace that works for you, and enjoy making your outdoor path more inviting.