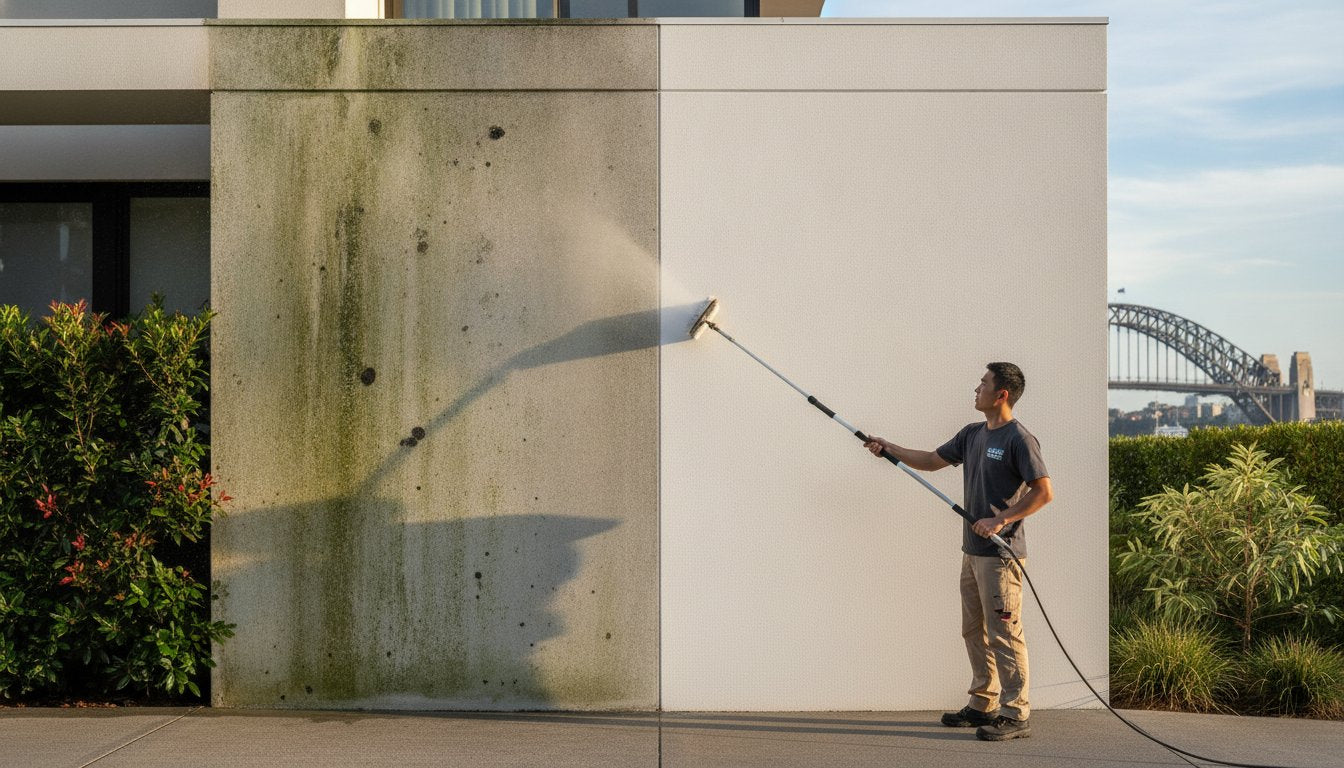
When it comes to render cleaning on your home, the goal is a deep clean that doesn't compromise the structural integrity of your masonry.
Render can collect dirt, algae, lichen and other organic growth over time, particularly on walls that are shaded or regularly exposed to moisture. While a pressure washer might seem like the easiest way to clean it, high pressure can damage some types of render and leave the surface needing further repairs.
We understand that seeing those unsightly marks return just months after a wash is disheartening. This guide will show you how to safely remove biological growth and stains by targeting the "anchor" of the organism rather than just the surface. You'll learn a method that delivers a like-new exterior and prevents regrowth for the long term.
Key Takeaways
- Learn why the porous structure of modern render creates a "living ecosystem" that requires targeted chemical treatment rather than just physical scrubbing.
- Identify the specific risks of "etching" caused by pressure washers, which can create permanent structural damage and invite faster regrowth.
- Understand how soft washing uses a low-pressure application and cleaning solution to treat algae and lichen.
- Follow a detailed preparation checklist to safeguard your windows, electrical outlets, and delicate garden foliage before you start the cleaning process.
- Learn how preventative treatments and general maintenance can help reduce the return of organic growth.
What is Render and Why Does it Get Dirty?
Render serves as the protective and aesthetic outer skin of your property. Whether your house features traditional cement, breathable lime, or modern acrylic finishes, this layer acts as the first line of defence against the elements. It is essentially a protective and decorative coating used on masonry and other building surfaces. Render can contain small pores that allow it to absorb and hold moisture. Dust, dirt and organic material can also collect on the surface, particularly where the wall stays damp for long periods.
Sydney's unique environment plays a major role in how quickly your walls degrade. Our humid coastal climate, combined with high rainfall in certain seasons, creates a high-pressure environment for masonry. The salt-laden air doesn't just affect metal; it provides a mineral-rich base that helps organic spores thrive.
The Anatomy of a Stain: Algae vs. Lichen
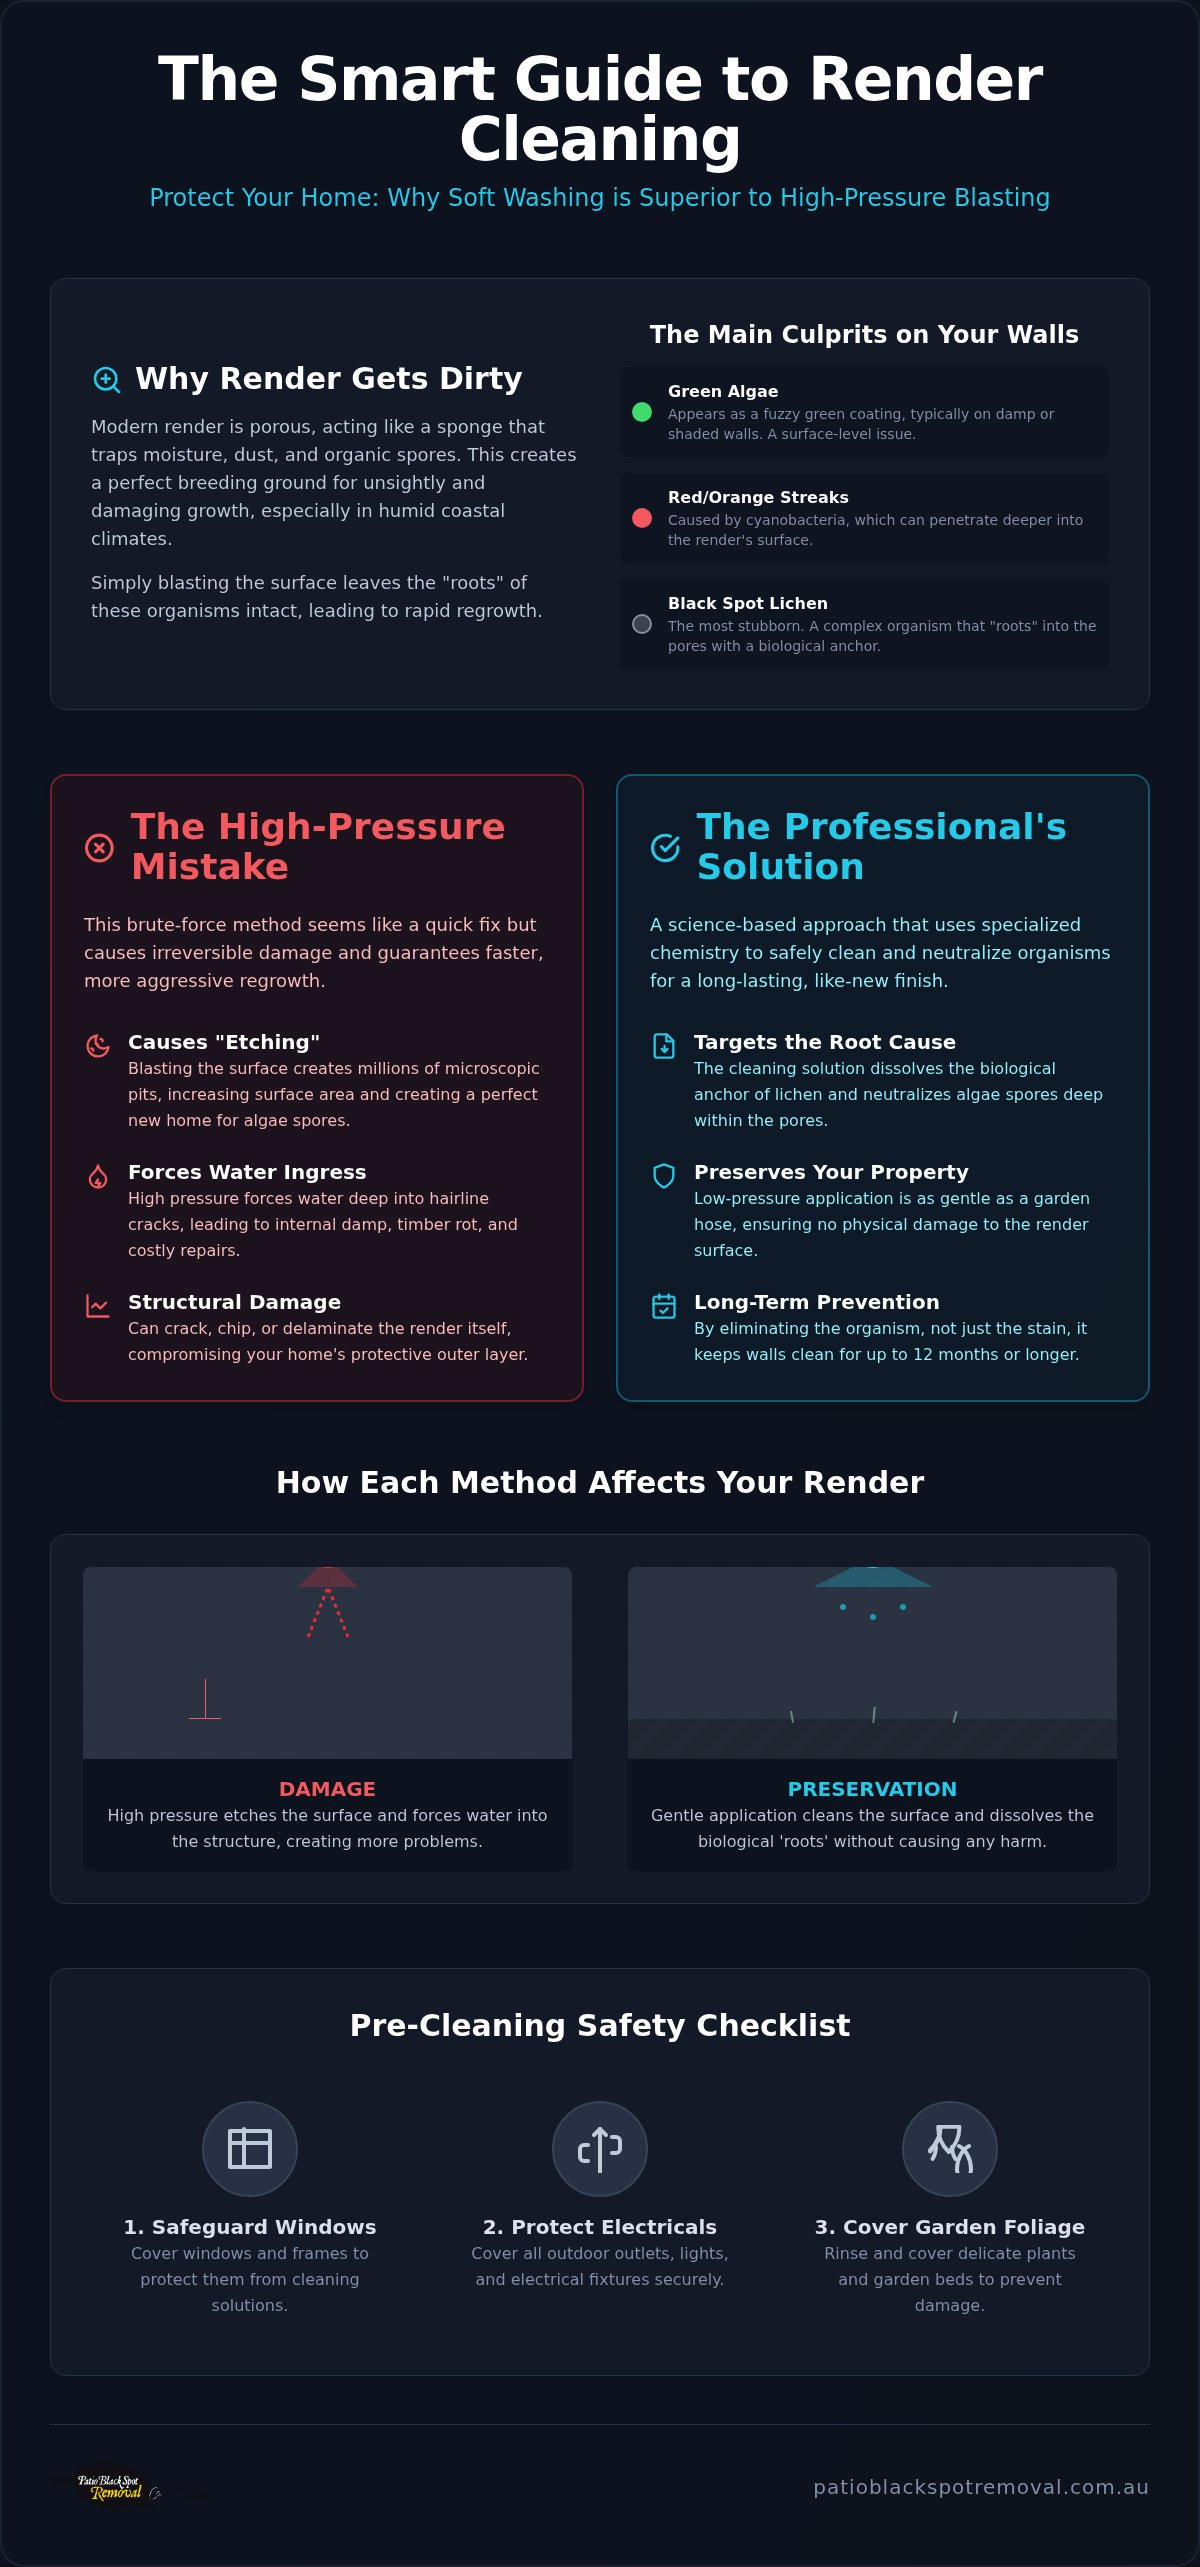
Not every mark on render has the same cause, so identifying the growth can help you choose the right cleaning method. You'll likely notice green algae first, which typically appears as a fuzzy green coating on shaded or damp walls. While it's an eyesore, it's generally a surface-level issue. More problematic are the red or orange streaks often seen on modern K-Rend or acrylic surfaces. These are caused by cyanobacteria, a hardy organism that can penetrate deeper into the render's surface and survive even in direct sunlight.
The most stubborn visitor is black spot lichen. Unlike simple algae, lichen is a complex symbiotic organism that actually "roots" into the pores of the render. It uses a biological anchor to latch onto the masonry, which is why it won't just wash away. For these vertical surfaces, a specialised solution like the Patio Black Spot Remover is necessary to dissolve that anchor and clear the stain completely.
Why "Just Washing It" Doesn’t Work
A garden hose or mild detergent can remove loose dirt, but it may not be enough to deal with established algae or lichen. Because these stains are biological organisms, they behave more like garden weeds than surface dust. If you only clean the surface, you're leaving the "roots" of the lichen intact. This is a primary reason why render cleaning on your home often needs to be repeated so frequently when done incorrectly.
Stains often reappear just weeks after a traditional wash because the living organism hasn't been neutralised. To achieve a lasting result, you need to address the chemistry of the growth. This how it works guide explains that without dissolving these anchors, the cycle of regrowth continues. Additionally, atmospheric pollution and carbon deposits from traffic can bond with these organic layers, creating a hardened crust that dulls your home’s exterior and protects the algae underneath from standard cleaning agents.
The Dangers of High-Pressure Render Cleaning
Many homeowners instinctively reach for a pressure washer when they notice stains, as high pressure washing can be useful for removing surface dirt and improves the look of your render. However, this "quick fix" is often doing more harm than good. Render is a relatively soft, porous material. High-pressure water doesn't just remove the algae; it often removes the surface layer of the render itself.
This leads to the "etching" effect. When you blast the surface, you create millions of microscopic pits and craters. These new pits become the perfect nurseries for organic spores to settle. You might get a clean wall today, but you've guaranteed that the algae will return faster and more aggressively than before because it now has a more textured surface to latch onto.
Pressure washers can force water deep into existing hairline cracks or behind the render "skin" entirely. Once moisture is trapped against the substrate, it can lead to internal damp, timber rot, or salt efflorescence. A weekend DIY project that costs a few hundred dollars in equipment hire can quickly spiral into a five-figure repair bill if the render needs to be stripped and replaced. If you're concerned about existing damage or stubborn stains, it's always best to speak with a specialist before starting any cleaning work.
Structural Damage: Cracks and Delamination
Render is designed for weather protection, not high-impact mechanical force. When subjected to thousands of pounds of pressure per square inch, even high-quality finishes can fail. If there are "blown" or hollow areas where the render has slightly detached from the brickwork, high pressure will find those weak spots. It can literally blow chunks of render right off the wall. Additionally, many modern renders come with a factory-applied tint or protective coating. Aggressive washing can strip this finish, leaving the wall patchy, unprotected, and prone to UV damage.
The "Ghosting" Effect
One of the most common visual disasters of DIY cleaning is "ghosting." Because it's impossible to maintain perfectly even pressure and distance with a handheld wand, you'll inevitably leave permanent marks. These "wand marks" or stripes happen where the jet was slightly closer to the wall, etching deeper in some spots than others. Once these marks are etched into the texture, they cannot be washed away. The only solution is usually a full repaint of the entire facade, which is a massive, unplanned expense.
The Science of Soft Washing: A Safer Approach
Soft washing has emerged as the industry standard for maintaining delicate building envelopes. Instead of relying on the high-impact force that causes the structural damage discussed previously, this method uses targeted chemistry to achieve a deep clean. By applying a low-pressure solution, you allow the cleaner to penetrate the porous surface of the render. This approach prioritises "dwell time," which is the period the product remains active on the wall to break down organic matter at its source.
The biological breakdown process is the key to successful render cleaning on your home. When you understand how it works, you realise that killing the organism at the root is the only way to stop the cycle of regrowth. This method is far safer for the structural integrity of your home because it works with the material's properties rather than against them. It eliminates the need for mechanical scrubbing, ensuring the factory finish of your render remains intact.
Targeting Black Spots on Vertical Surfaces
Black lichen is incredibly resilient and often resists standard cleaning attempts. Standard household bleach or basic biocides often only whiten the surface, leaving the biological "anchor" alive within the pores. To truly clear these stubborn marks, you need a solution like Patio Black Spot Remover for Natural Stone. While originally designed for horizontal surfaces, this technology is highly effective for vertical masonry applications. The chemical reaction specifically targets the pigmented "black ink" and the biological root, lifting them out of the pores so they can be gently rinsed away without damaging the underlying cement or lime render.
Eco-Friendly Considerations for Sydney Gardens
Maintaining a beautiful home shouldn't come at the expense of your landscaping. Sydney gardens often feature delicate tropical or native plants that can be sensitive to cleaning runoff. Professional-grade cleaners are generally biodegradable once they have reacted with the organic matter on the wall, but proactive precautions are still necessary to protect your greenery.
Safe render cleaning on your home involves a few simple steps to protect your garden:
- Pre-wetting: Always soak surrounding foliage with water before starting. This saturates the plant's cells, preventing them from absorbing any stray cleaning solution. Tie back or cover plants that may come into contact with the neat product where possible.
- Repeated application: Spray the area with the product, wait 20-30 seconds, then spray again. Repeating this several times ensures the wall is well saturated, but does create more runoff. Use a barrier or sandbags to product your garden from any neat product.
- Final Rinse: Once the process is complete, a final thorough rinse of the garden area neutralises any remaining traces.
These techniques ensure that your lawn and flower beds remain healthy while your walls return to their original, like-new condition.
How to Clean Render on Your Home: Step-by-Step
Performing render cleaning on your home requires a methodical approach to ensure both your safety and the longevity of your walls. Before you begin, equip yourself with the correct Personal Protective Equipment (PPE). This includes chemical-resistant gloves, safety goggles, and a face mask to prevent inhalation of any spray drift. Preparation is equally vital. Use plastic sheeting and painter's tape to cover electrical outlets, external lights, and window frames. As discussed previously, ensure your garden beds are well-watered and covered to prevent any accidental contact with runoff.
Step 1: The Patch Test
Never treat an entire facade without first performing a patch test. Choose an inconspicuous area, such as a spot behind a large shrub or close to the ground level on a side wall. Apply and rinse off the cleaning solution as directed and wait a full 24 hours. This allows you to check for colorfastness and ensures there are no adverse reactions with specific acrylic or cement additives in your render. Only proceed once the test area has dried completely and you're satisfied with the finish.
Step 2: Application and Agitation
When you're ready to start, use a low-pressure pump sprayer to apply the solution. Work from the bottom of the wall upwards. This might seem counterintuitive, but it prevents the cleaning agent from running down dry render and creating permanent streak marks. Spray the area with the product, wait 20-30 seconds, then spray again. Repeating this several times ensures the wall is well saturated. For particularly stubborn areas, use a soft-bristled nylon brush to gently agitate the surface. Never use a wire brush or any abrasive tool, as these will permanently scar the finish. It's essential to keep the render wet with the solution throughout the entire dwell time. If the wall starts to dry out, lightly reapply more product to keep the chemistry active.
Step 3: The Final Rinse
Once the dwell time is complete, use a standard garden hose or low PSI pressure washer to rinse the wall. Start from the top and work your way down to ensure all chemical residue is flushed away. While the wall is still damp, check for any missed spots or areas where the lichen remains. If you encounter heavy staining that didn't clear the first time, a second application is often better than increasing water pressure. If you're unsure about the right product for your specific wall type, you can contact our experts for tailored advice on restoring your home's exterior safely.
Preventing Regrowth: Keeping Your Render Spot-Free
Cleaning the wall removes the existing growth, but the surrounding conditions can affect how quickly it returns. Effective render cleaning on your home is a two-part process: removing the current infestation and then making the surface uninhabitable for future colonies. Because render is porous, it will always be susceptible to moisture. Your goal is to manage that susceptibility through proactive maintenance and environmental control.
Start by looking at the microclimate surrounding your property. Dense garden beds or overhanging tree branches create pockets of stagnant, moist air against the facade. By trimming back foliage and improving airflow, you allow the sun to naturally dry the render, which significantly slows down algae growth. Additionally, perform a quick annual "health check" of your exterior. Look for leaking gutters or blocked downpipes that might be spilling water down the walls, as these localized damp spots are usually the first places where green or red algae will reappear.
The Power of Prevention
The most effective way to break the cycle of recurring stains is to apply a protective barrier. Using a product like Patio Black Spot Preventer acts as an invisible shield for your masonry. This treatment works by killing any new spores that land on the surface before they have the chance to establish a biological "anchor" in the pores. While the initial cleaning removes years of buildup, an annual "top-up" of the preventer keeps the surface pH at a level that discourages growth. This preventative approach is far more cost-effective than waiting for the walls to turn black again and requiring a full restorative clean.
Revitalise Your Home’s Exterior Safely
Maintaining the pristine look of your property doesn't require aggressive force. By moving away from high-pressure washing and embracing the science of soft washing, you protect the structural integrity of your walls while achieving a deeper clean. You now understand that successful render cleaning on your home depends on neutralising biological organisms at the root rather than just scrubbing the surface. This approach prevents the "etching" effect and keeps your facade looking newer for longer.
The Patio Black Spot Removal Company has solutions that are specifically formulated for Australian conditions, ensuring that stubborn lichen and algae are removed without the risk of permanent damage. Whether you're dealing with red streaks or the dreaded black spot, the right chemistry makes all the difference. Combining these treatments with better airflow and regular maintenance will keep your home's exterior in top condition throughout the year.
If you're ready to clear those unsightly stains for good, we're here to help. Restore your home’s curb appeal with Patio Black Spot Removal Australia and benefit from expert support tailored for Sydney homeowners. With the right method and a bit of care, your home can look as good as the day it was first rendered.
Frequently Asked Questions
Is it safe to use patio cleaner on my house render?
Yes, specialized masonry cleaners are safe and effective for vertical surfaces when applied correctly. Products like Patio Black Spot Remover target the biological "anchors" of lichen without damaging the underlying structure. You should always perform a patch test on an inconspicuous area first. This ensures the chemical doesn't react poorly with specific acrylic or cement additives in your wall's finish.
How often should I clean the render on my home in Sydney?
Most properties in Sydney benefit from a professional clean every 3 to 5 years. Our humid coastal climate and salt-laden air encourage faster algae growth than drier inland regions. If you use a preventative treatment annually, you can often extend this window significantly. Regular inspections help you catch green or red algae before it becomes a deep-seated structural problem.
Will render cleaning remove the paint from my walls?
Soft washing won't remove sound, well-bonded paint from your walls. Unlike high-pressure methods that physically strip surfaces, chemical cleaning only targets organic growth. It dissolves the algae and lichen while leaving the paint or factory tint intact. If your paint is already flaking or "blown," any cleaning method requires caution and potential repair before you begin.
Can I use a pressure washer if I turn the power down low?
Even a low-pressure setting carries risks of etching and water ingress. While it seems safer than a full blast, the mechanical force can still create microscopic pits in the porous surface. These pits provide more surface area for future algae to latch onto. It's always better to rely on chemical dwell time than any level of physical impact for a lasting clean.
What is the best temperature/weather for render cleaning?
A dry, overcast day with mild temperatures between 10°C and 25°C is the perfect time for cleaning. You want the solution to stay wet on the wall for the full dwell time without evaporating in direct sunlight. Avoid days with heavy wind, as this can blow the spray onto unintended areas like your garden or your neighbour's property.
How much does it cost to professionally clean render?
The cost depends on the total surface area, the height of the building, and the severity of the staining. Multi-story homes often require specialized reach equipment or scaffolding, which can influence the final quote. Because every property is different, getting a tailored assessment is the best way to determine the investment for render cleaning on your home.
Will the cleaning chemicals kill my grass or garden plants?
Your garden will stay healthy if you follow a strict pre-wetting and rinsing protocol. Saturating the soil and leaves with fresh water before you start prevents plants from absorbing the cleaning solution. Professional-grade products are biodegradable once they've finished reacting with the organic matter on your walls, making them safe for a well-managed garden.
How long do the results of a soft wash last compared to pressure washing?
Soft wash results typically last much longer than pressure washing because the biological roots are destroyed. Pressure washing often leaves the "anchors" alive within the pores, leading to visible regrowth in just a few months. When you combine a soft wash with a preventative treatment, your render can stay spot-free for 12 months or more.